

A label that works on a rigid cabinet door can obstruct a membrane key, misalign a rotary scale, or reduce touchscreen performance. By matching the label format to the interface, measuring the panel correctly, and specifying the material, adhesive, graphics and safety markings together, you can order a label that remains readable and usable in service.
Key takeaways
- Use separate legends for moving controls and overlays for fixed touch interfaces.
- Measure the panel, cut-outs, corner radii and clearances before artwork approval.
- Specify material, adhesive and fixing method for heat, chemicals, moisture and cleaning.
- Include wording, symbols, ratings, batch details and verification samples in the purchase specification.
Match the label format to the control interface
Which control panel nameplates fit equipment interfaces depends on how each control moves, displays information or must remain visible during an emergency. Match the label to the interface rather than covering the entire panel with one rigid plate.
| Interface | Suitable label format | Critical check |
|---|---|---|
| Pushbuttons, selector switches and pilot lights | Individual engraved or printed legends | Keep text outside actuator travel and guard clearance; use replaceable strips for changing functions. |
| Membrane keypad | Printed polyester or polycarbonate overlay | Flex it around switch domes, embossed keys and LED windows without blocking actuation or sealing zones. |
| Touchscreen HMI | Border label, bezel label or transparent overlay with display window | Test the complete overlay, adhesive and touchscreen together; added layers can reduce sensitivity and increase reflections. |
| Rotary selector | Registered scale ring, pointer mark or arc-shaped label | Align zero, direction of travel and knob pointer after installation. |
| Analogue gauge | Registered dial or arc-shaped label | Match the pointer’s zero position, units and viewing angle. |
| Emergency-stop station | High-contrast marking around the actuator | Leave the actuator and guard unobstructed and keep the marking visible from the operating position. |
Check every cut-out, display window, moving knob and fastener before approving artwork. A mixed-control panel usually needs local legends, a bezel or overlay, and separate warning markings—not one plate that interferes with controls. Use a separate machine specification plate for model, serial number, voltage or ratings.
Choose between local legends, overlays and separate plates
Choose local equipment interface labels for spaced pushbuttons, switches, indicators and connectors when each legend must be replaced without removing the panel face. Choose a full custom panel nameplate or printed overlay when graphics define the complete fascia, group several controls, or create a sealed continuous surface.
| Option | Use it when | Check before approval |
|---|---|---|
| Local equipment interface labels | Controls are spaced and each function needs its own replaceable legend | Leave clearance from actuators, guards and fasteners |
| Full custom panel nameplate or printed overlay | The fascia carries multiple control groups or needs continuous sealing | Confirm cut-outs, windows, adhesive edges and actuator travel |
| Scale or dial | A knob, gauge or shaft needs values, units, direction and a pointer reference | Register zero and rotation direction; ensure the knob does not hide the pointer |
| Separate specification plate | Equipment identity and ratings must remain distinct from operating instructions | Include name, model, serial number, voltage, current, weight and ratings |
Keep machine identification separate from operating legends. That plate can carry technical data without competing with an instruction such as START, RESET or OPEN.
Treat safety warnings as safety markings, not decoration. Apply the applicable signal word, symbol, colour and contrast system, such as ANSI Z535.4 or ISO 3864-1, and allow for viewing distance and language.
Reserve clear space around alarms, emergency stops, moving knobs, screw heads and display windows. A label that touches an obstruction can hide the warning, restrict movement or make a correct control appear incorrectly positioned.
Measure the interface before creating artwork
Measure the usable label width and height, not the outside of the door or fascia. Record the corner radius, panel thickness, hole positions and diameters, screw-head locations, control spacing, display-window size, and clearance around knobs, guards and moving selectors.
| Interface feature | What to record | Why it matters |
|---|---|---|
| Pushbuttons, switches and lights | Position from two fixed reference edges | Prevents legends from entering actuator travel or guard clearance |
| Rotary controls and gauges | Shaft zero, pointer position, scale radius and rotation direction | Stops a scale from looking correct but reading incorrectly |
| Touchscreens and displays | Active touch area, viewing window and surrounding bezel | Prevents an overlay from reducing sensitivity or hiding information |
Mark every button, switch, pilot light, emergency stop, gauge and connector from the same two reference edges. For a curved or recessed face, record bend direction, radius and recess depth; a flat adhesive equipment interface label can bridge a recess or lift at a tight curve.
Compare the artwork with the installed layout at full size. Check every legend, arrow direction, ON and OFF state, unit, decimal position, alarm colour, emergency-stop symbol and viewing angle. Set character height for the actual viewing distance, not the smallest available space.
Confirm that an overlay leaves touch targets, LED windows, gaskets, actuator travel zones and service fasteners clear.
Request a dimensioned proof showing cut-outs, transparent windows, mounting holes, registration marks and finished reading orientation before production. പരിശോധ
Select the material, adhesive and fixing method for the service environment
Choose panel label options by the complete service environment, not by appearance. Printed polyester or polycarbonate overlays suit flexible keypads and smooth fascia surfaces, but verify thickness, bend tolerance, optical clarity and touch performance before approval.
| Option | Best fit | Check before selection |
|---|---|---|
| Printed polyester or polycarbonate overlay | Membrane keypads and smooth fascia surfaces | Flexibility, embossed features, display windows, touch response and adhesive temperature range |
| Anodized aluminium, stainless steel or engraved metal | Rigid panels exposed to handling, abrasion, moisture or repeated cleaning | Graphic permanence, edge protection, hole positions and cleaning compatibility |
| Metalphoto | High-resolution markings on rigid panels | Qualification of the complete face stock, graphic, coating, adhesive and substrate |
| Mechanical plate with screws, rivets, studs, captive fasteners or stand-offs | Contaminated, textured, replaceable or peel-prone mounting surfaces | Service access, fastener clearance, recessed mounting and vibration resistance |
Specify the tested operating range for the face stock, ink, protective coating and adhesive together. A material name alone does not establish the rating, and thermal expansion mismatch can cause cracked graphics or lifted edges.
Give the supplier the actual exposure list:
- Oil, coolant, solvents and detergents
- Salt spray, UV, washdown water and temperature cycling
- Cleaning method, wipe pressure, frequency and chemical concentration
- Surface type, texture, contamination risk and required dwell time
Pressure-sensitive adhesive needs a clean, dry, smooth surface with suitable surface energy, application temperature and dwell time. Shreeniwas Signs Pvt Ltd can use these details to distinguish an adhesive-mounted custom panel nameplate from a mechanically fixed panel label option.
Related products
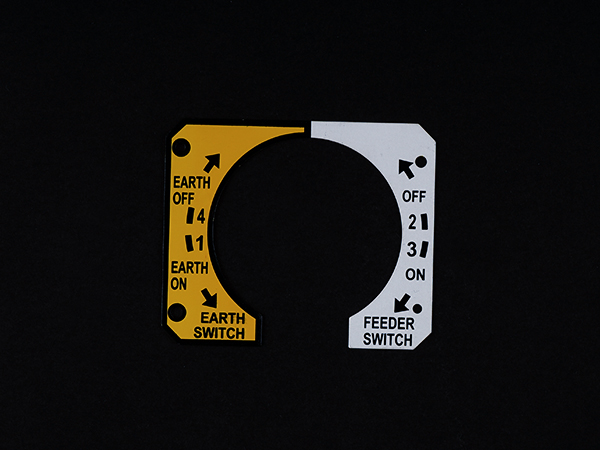 | Metal Labels A Control Panel Nameplate a flat, regularly vertical, region mounted on machine where control or observing instruments information are shown They are... View product → |
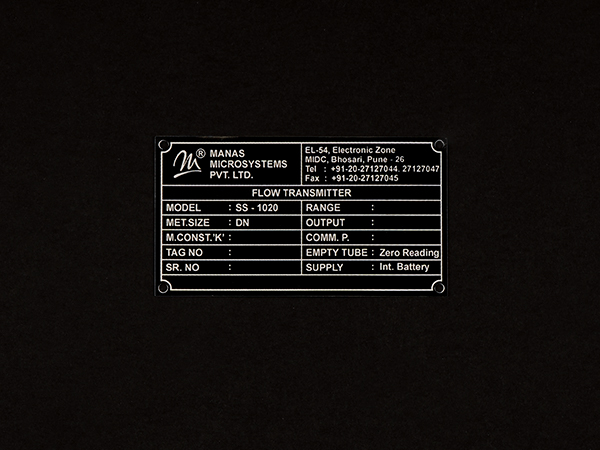 | Metal Labels Machine Specification Nameplate A Machine Specification Nameplate distinguishes and shows an item's name on gadget. View product → |
Build a purchase specification that covers safety and verification
Give the supplier a written purchase specification, not just “custom control panel nameplates.” State these details in order:
1. Identify the interface: pushbutton legend, membrane overlay, touchscreen bezel, rotary scale, gauge dial, emergency-stop marking, machine identification plate or specification plate. Include the usable label area, corner radii, cut-outs, viewing distance and minimum character height.
2. Provide the artwork requirements: colors, symbols, units, arrow direction, ON and OFF states, decimal placement, languages and viewing orientation. Specify the mounting method, substrate, thickness, adhesive or mechanical fasteners, operating temperature and cleaning chemicals.
3. For safety markings, name the required signal word, symbol and design system. Use ANSI Z535.4 for product safety labels in North America or ISO 3864-1 for safety-sign colors and design. Review electrical machine identification against IEC 60204-1.
4. Ask whether the complete marking system has evidence for UL 969. Match the tested face stock, ink, overlaminate, adhesive and application; “UL 969 suitable” alone does not qualify every construction. Treat panel label options as a tested assembly, not a material name.
5. Do not infer loose-label qualification from a NEMA enclosure type or IEC IP rating. Inspect gasket interfaces, fastener holes and adhesive edges on the finished assembly.
6. Approve a physical proof or first article. Test operating-position readability, actuator clearance, touch response, solvent wipe, abrasion, temperature cycling, UV exposure and edge adhesion before releasing the full order.
Frequently asked questions
Which control panel nameplates fit different equipment interfaces?
Use local legends for individual controls, overlays for fixed membrane or touch interfaces, and separate plates for equipment identification or durable instructions.
How should you measure a control interface before creating artwork?
Record the overall face dimensions, cut-outs, button and display locations, corner radii, mounting holes, clearances and viewing direction.
How do you choose material, adhesive and fixing method for a panel nameplate?
Match the material and adhesive to heat, moisture, chemicals, abrasion, cleaning agents and installation surface, then choose adhesive, screws, rivets or other fixing accordingly.
What should a control panel nameplate purchase specification include?
State dimensions, artwork, text and symbols, material, finish, adhesive or fixing method, environmental exposure, safety markings, revision code, sample approval and verification requirements.
Related products
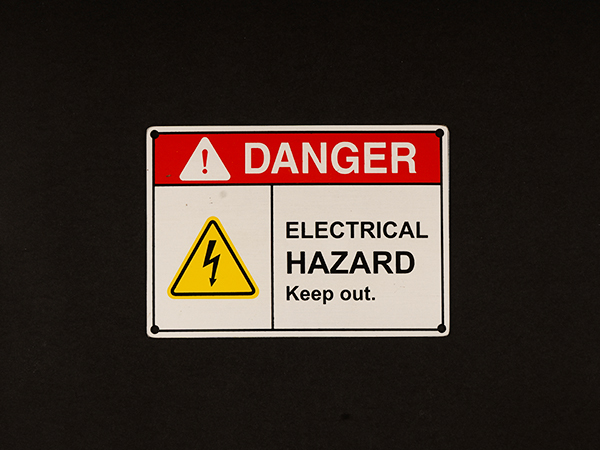 | Metal Labels Aluminum Nameplates are popularly known for their light weight and capacity to oppose corrosion.Its recognizable gleaming white shine offers... View product → |
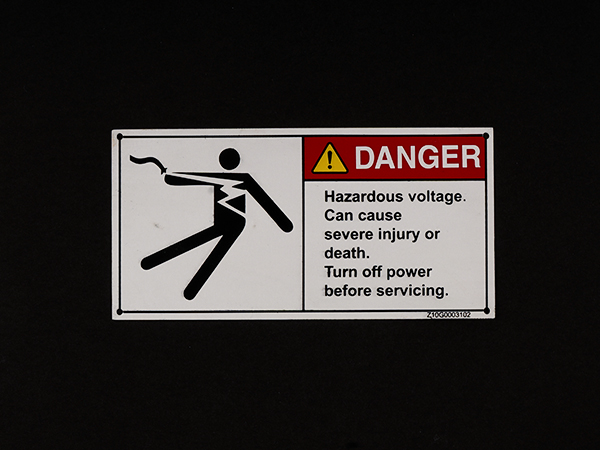 | Metal Labels Safety Nameplates, can view important operational and security information directly on a machine or device. View product → |
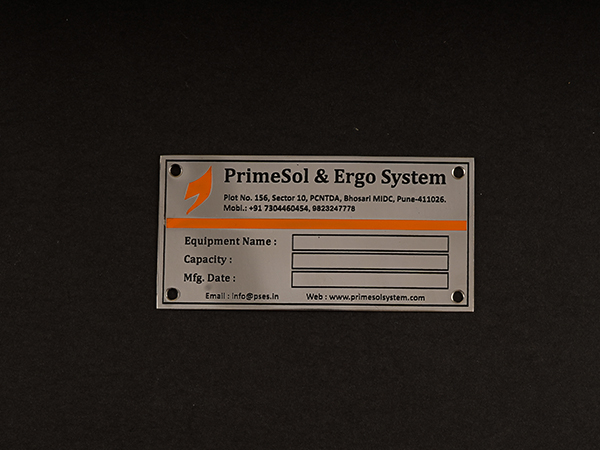 | Metal Labels In the most testing conditions, particularly overwhelming modern situations, where heat, moisture and erosion are available, Stainless Steel... View product → |
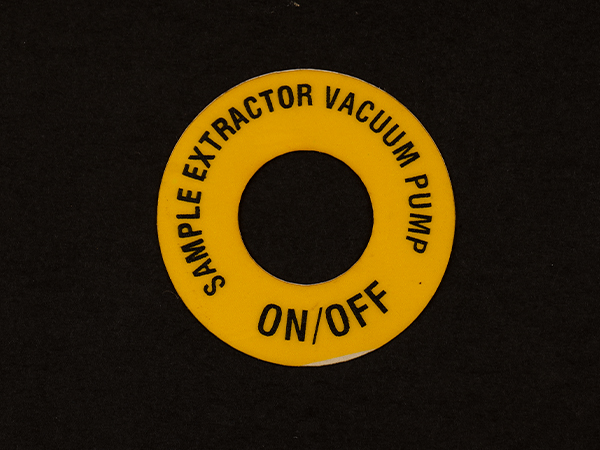 | Plastic Labels PVC & Polycarbonate Stickers are often used in various industries. View product → |